
HYE? Presents: The Dunk Stuffing Guide
Here's everything you want/need to know about stuffing tongues.
Tools required:
- Exacto Knife or Thread Ripper
- Tongue stuffing material (I used Poly-fil™ Premium Polyester Fiberfill)
- Thread and needle
- Patience
Step 1:
Prepare kicks. Unlace them completely. Clean them up so you
have a fresh kick to work with.
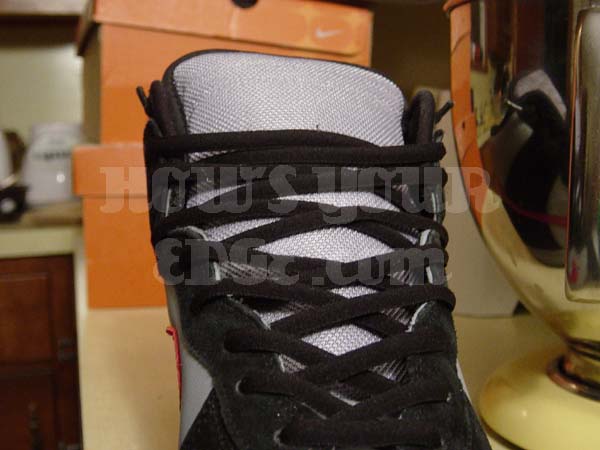
Step 2:
This step will be done in reverse later, so remember how the lace
stay was attached.
Unstitch the lace stay, starting from the tongue underside. Remove all loose threads that remain on the underside or overside. Set the lace stay aside.
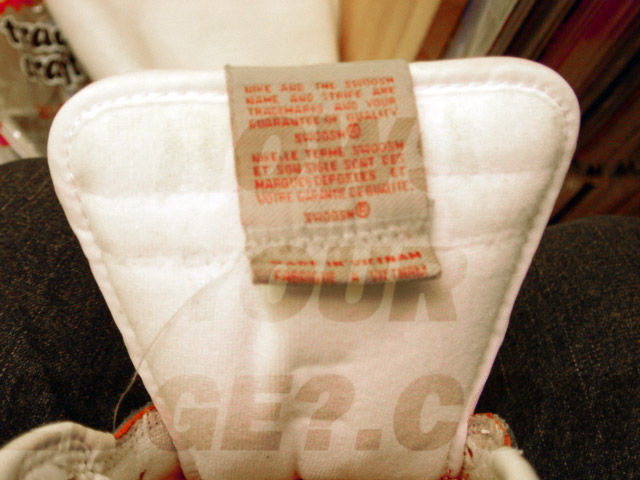
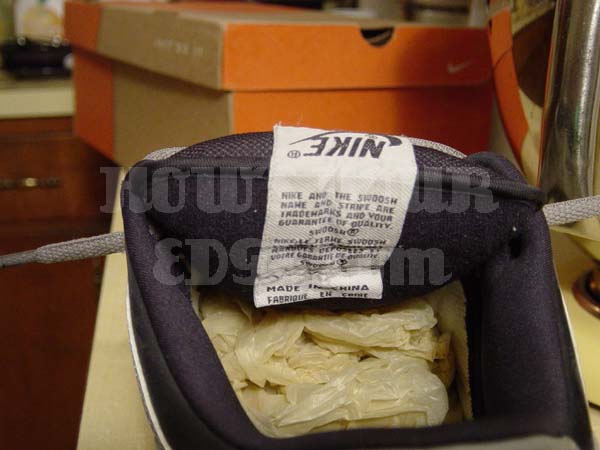
Step 3:
Unstitch the rows that hold the NIKE tag in place (if they exist).
If the tongue is mesh, be very careful to only cut stitch threads
and not tongue threads. Set the NIKE tag aside.
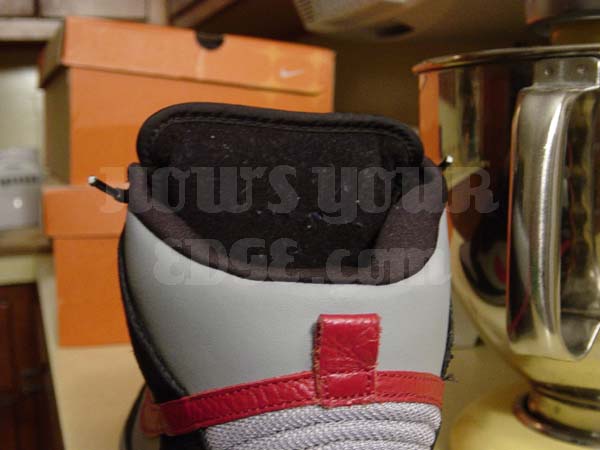
Step 4:
With the exacto knife or thread ripper, cut a 1 inch hole along the
line left by the upper stitch row. By cutting a hole in this location,
after sewing the tag back on, this hole (sewn up) will be out of sight.
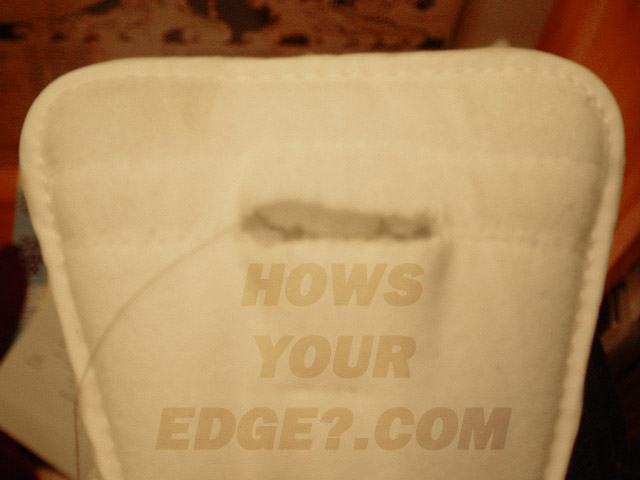
You'll notice that with the tag lying over the tongue that the hole is not seen.
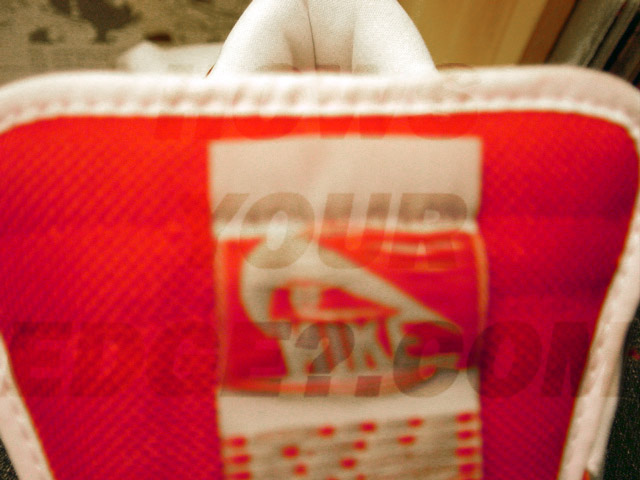
Step 5:
Starting with the hole, begin to peel the inner layers of the tongue
apart. There should be two layers with minimal glue holding them
together. Just push down with your fingers making sure to fully
separate the layers, including all the corners.
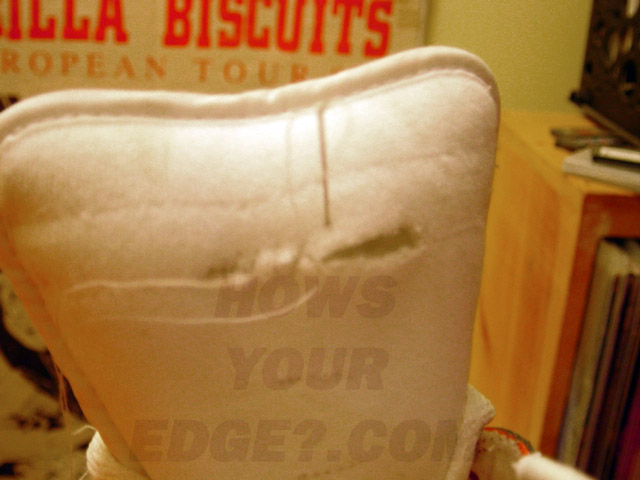
Step 6:
Take the stuffing material, and stuff that tongue. For now, this is
just for proper fitting.
Step 7:
Remove the stuffing, and begin to reattach the lace stays and tag.
The lace stay can be a hassle to sew back on. If you don't care, feel
free to skip the next step.
Step 8:
Reattaching the lace stay. Recalling how the lace stay was originally
attached, sew the lace stay back to the overside of the tongue ONLY.
(If you can't recall how it was removed, sew the upper lace stay section
first, then the bottom section). Do not sew through the underside of the tongue.
Step 9:
Reattaching the NIKE tag. To begin, you must sew the tag on the overside
of the tongue. Again, do not sew through the underside of the tongue.
Step 10:
Stuff that tongue with the stuffing material set aside from
earlier.
Step 11:
Sew that hole up. Do not sew into the overside of the tongue. Be careful
to make a smooth seam or a ridge will rub against your ankle/foot when
you walk. That could be annoying.
Step 12:
Now flip the tag over to the underside and sew that guy down. This seam will
be visible to yourself and others if you are showing your handiwork off, so
make sure to do this one real well.
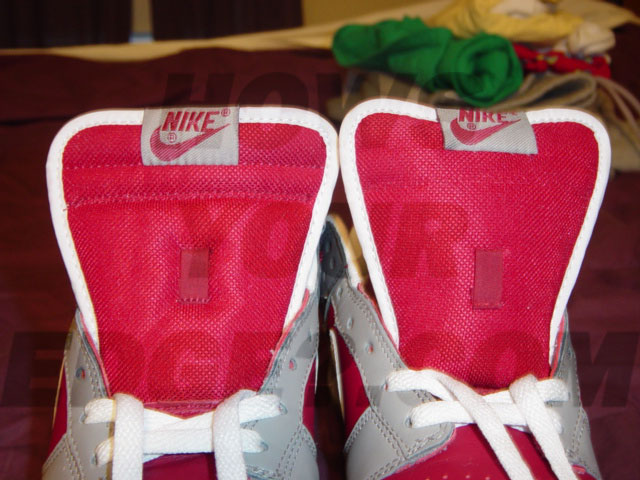
Step 13:
Stand back and realize you have finished one shoe. Then go back
to Step 1 on the other shoe.
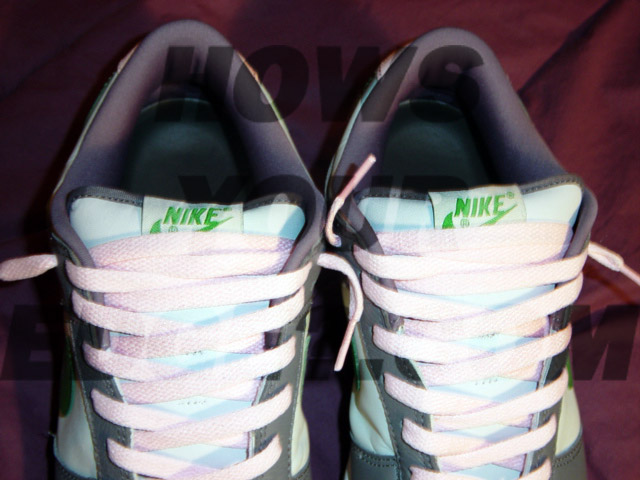
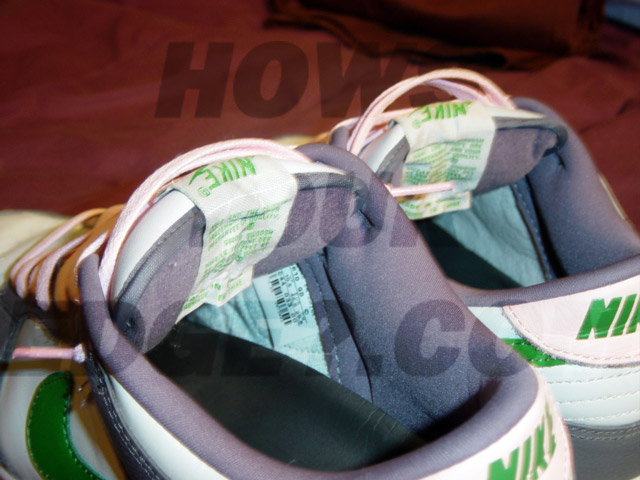
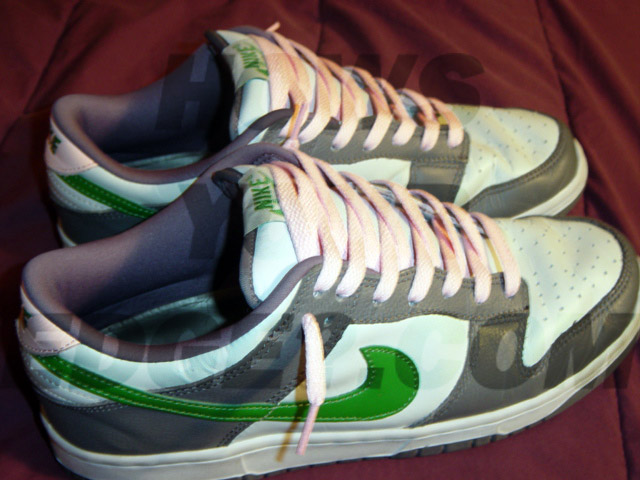
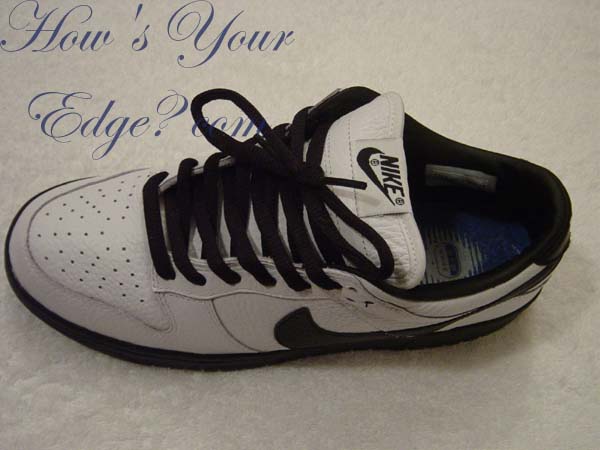
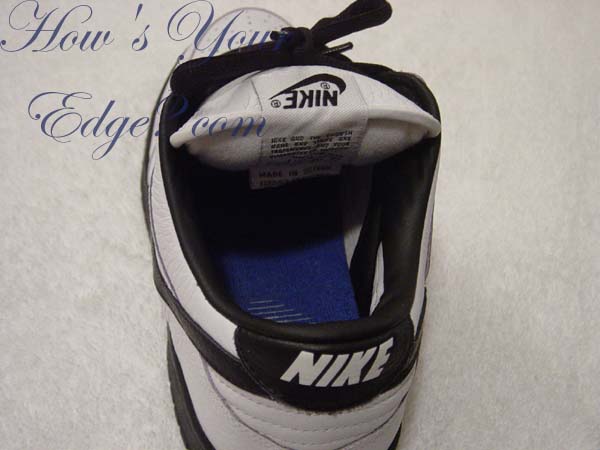
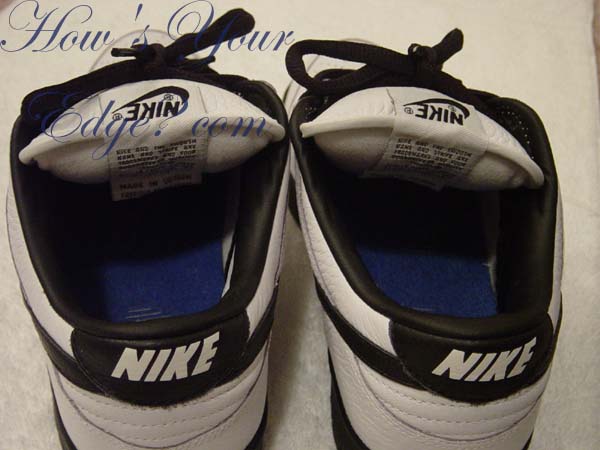
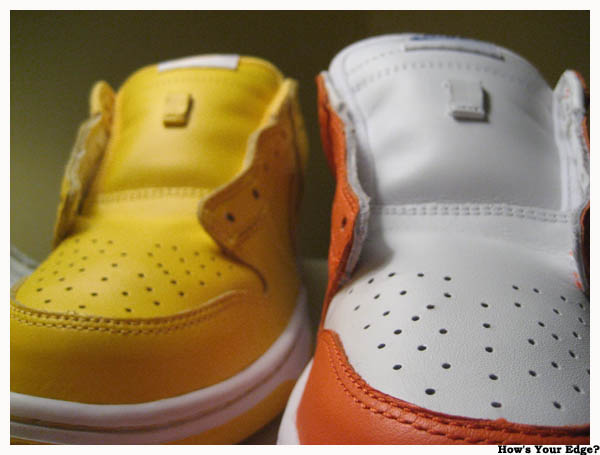
Comparisons and the Finished Product:
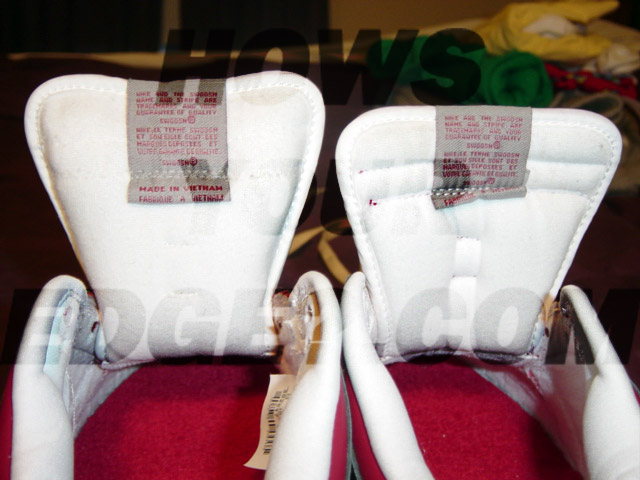

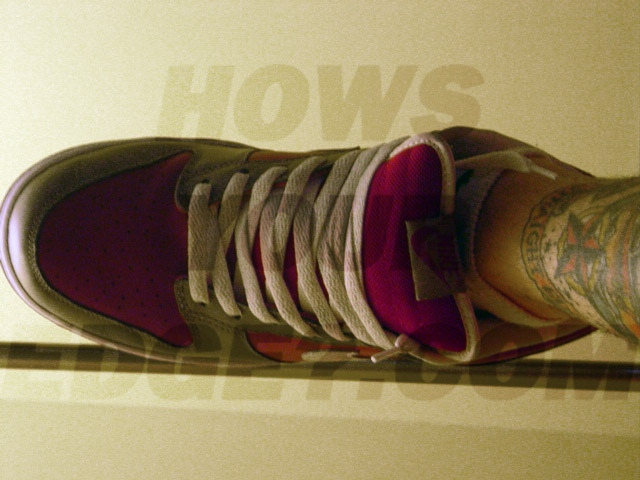
Another sneaker with the same procedure:
Update March 16, 2005: More sneakers

(Yeah, I got lazy)

Update March 17, 2006: More sneakers


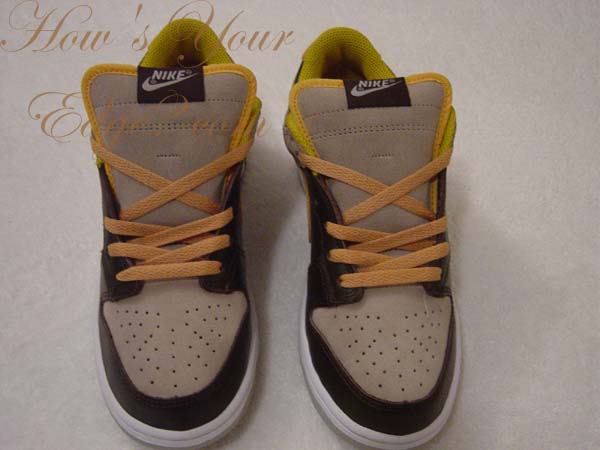

Update February 14, 2007: NT Dude

Update March 27, 2007: NT Dude
His comments:
awwww damn...... the shoes came out great. i will be wearing the yellow ones into the ground. the tongue stuffing is so fantastic. i really appreciate it.


Sponsored by

![[ How's Your Edge? com]](http://www.howsyouredge.com/images/hyeBanner.jpg)